I'm rather surprised to see that I haven't updated the blog for several months. One of the main areas of progress since then has been the trackwork. First I glued on Versaline cosmetic chairs to the PCB sleepers (tricky to get them to stay put while the "handles" are cut off, even using Araldite).
Then I painted the track in two stages. First, a coat of Halford's red oxide primer from a spray can. Once this had dried, I used the airbrush to apply a coat formed from various shades of Lifecolor acrylic. For this second coat, I tried to spray mainly from above - by tilting the baseboard on its side - so that the rails would retain some of the rust colour in contrast to the sleepers. The whole lot is now too dark in colour but, since the ballast is also too dark, I will be able to lighten it and create more variation later.
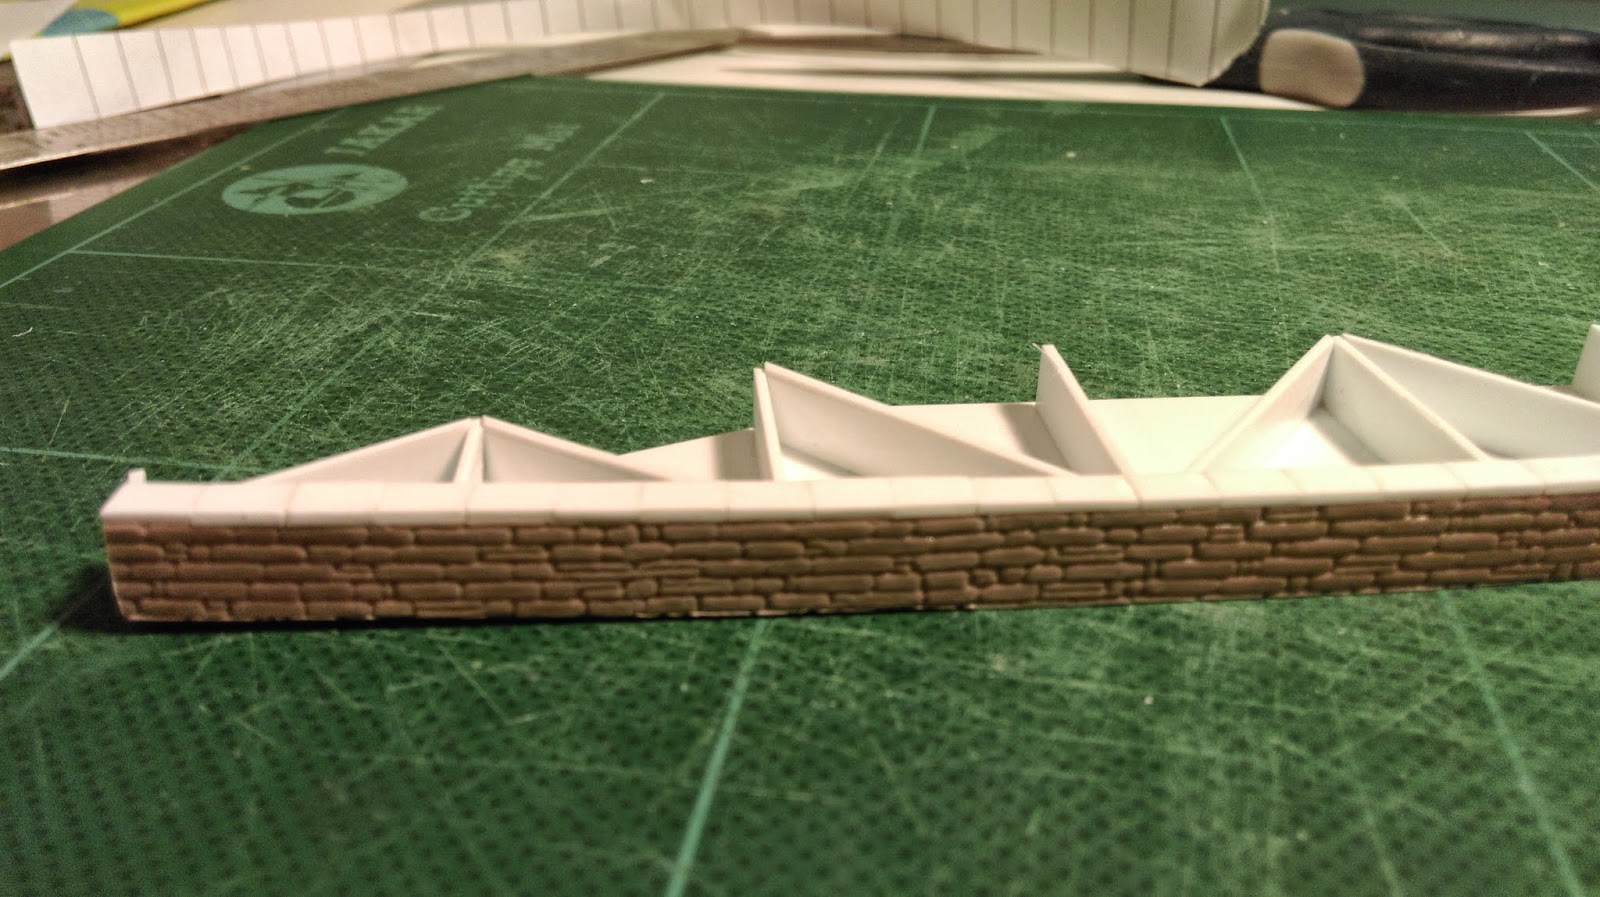
The main point of this post is to show the process I have settled on for deep ballasting. I do a small area at a time, and the task seems to have gone on forever!
1. The area illustrated here is around the crossing of a turnout, so I first mask the crossing and check-rail gaps to try to minimise the amount of ballast ending up in them.

2. I mix up a slightly thinned PVA glue, using car screen wash to dilute it (mainly because I'm already using screen wash later, and have it to hand).

3. Using a paintbrush, I spread this PVA fairly thickly around the area to be ballasted. The idea is to get the lower layers of ballast stuck straight away, rather than laying it completely dry. I find this
minimises disturbance when wetting it.
4. I apply the ballast to the glued area. I'm using a jar of Carr's "ash ballast" which I acquired some time in the past. It is probably too coarse for ash ballast in 2mm scale, but gives a good representation of stone ballast. I apply it from the folded piece of paper you see here, tapping it to release controlled amounts of ballast. This is then tamped by a combination of fingers, a paintbrush, and finally a cocktail stick to remove errant particles from the sleeper tops. This is the most painstaking task!

5. The next stage is to thoroughly wet the ballast. I've been using car screen wash which avoids the need to mix up washing-up liquid and water. I'm using this pipette rather than a fine plant mister because I don't have one to hand. I also don't particularly want to have to mask the rest of the layout to prevent it from getting wet. Where possible the drops are placed at the edges of the ballast and allowed to spread in by capillary action. This avoids creating the craters that you get if it is dropped straight onto the ballast from above. Once the screen wash has fully soaked in, I tidy up any stray grains of ballast using a cocktail stick.

6. The final stage is to add dilute PVA/screen wash to the already wet ballast, again using a pipette. This is something like a 50-50 mix, and can just be dropped on from above once the ballast is already wet. Leave it to dry and hey presto!

Actually this isn't really the end of it, as there is a subsequent painful stage of cleaning the rail tops and removing any stray grains of ballast that have somehow still managed to end up in the wrong place. Once all of this is over, I hope to restore the quality of running that I had at the start. Who said that model railways aren't fun!

 2. I mix up a slightly thinned PVA glue, using car screen wash to dilute it (mainly because I'm already using screen wash later, and have it to hand).
 3. Using a paintbrush, I spread this PVA fairly thickly around the area to be ballasted. The idea is to get the lower layers of ballast stuck straight away, rather than laying it completely dry. I find this